Genetically Engineering Yeast to Bioluminescence: Overview of steps
Contents⌗
Intro⌗
In a follow up to my previous posts, I will further explore the tools, steps, and biological processes that enable trivial gene editing using the CRISPR/Cas9 system. Future posts will dive deeper into each topic as I encounter them during my experiments.
The Yeast⌗
In theory, this process should work with almost any strain of yeast. However I have plans for this yeast, which may or may not involve using it to ferment glowing wine and beer 😉.
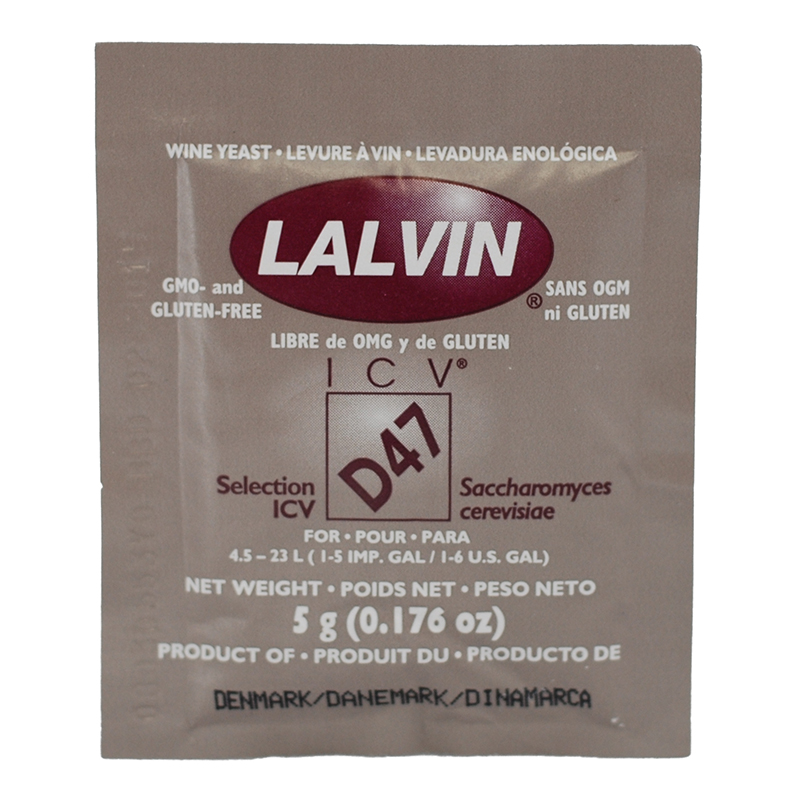
Therefore I have opted to use D-47 Wine Yeast, due to it’s low price and ubiquity in brewing.
In this experiment, our goal is to inject the Green Fluorescent Protein into the genome of yeast, causing them to glow green when exposed to light in the blue to ultraviolet range.
The Plasmid⌗
We can accomplish this by inserting the GFP genetic code into a plasmid. A plasmid is a circular piece of DNA that is separate from the main chromasomal DNA, and can replicate itself independently.
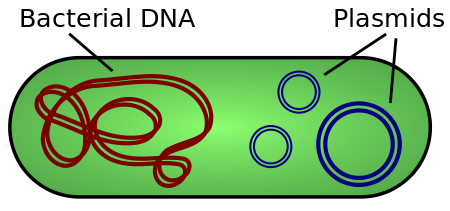
This causes the DNA present inside the plasmid to be translated and expressed within the target organism.
It can be helpful to think of plasmids as “DNA Powerups” in the sense that they can provide traits such as antibiotic resistance, which will come in handy later in the process.
In a future post devoted to plasmids, I will further investigate the characteristics and properties of plasmids, as well the specific GFP pasmid used in this experiment.
Due to my limited tools and resources, I will be using the provided plasmid in the kit I am planning on purchasing. It has been optimized for this specific application, and can provide insight on to more general plasmid design principles.
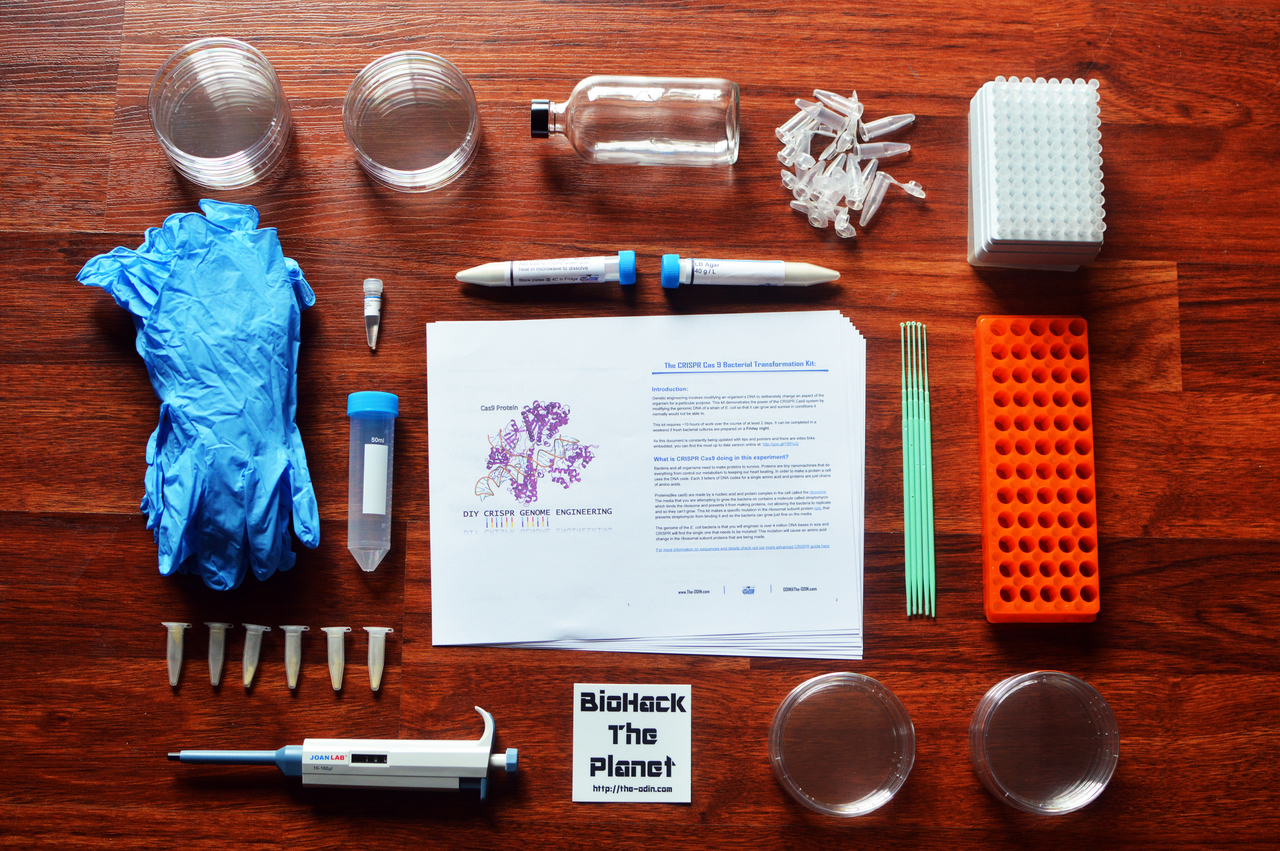
The Equipment⌗
Here I will break down the contents of the kit to better understand the purpose of each individual piece.
-
Containers
- Petri Plates
- Glass bottle for pouring plates
- 50mL Tube for measuring
- Microcentrifuge tubes
- Microcentrifuge tube rack
-
Misc/Disposable
- Nitrile Gloves
- Inoculation loops/Plate spreader
- Pipette tips
- UV Filter sheet and blue light
-
Bio/Perishable
- 1 mL Yeast transformation buffer 40% PEG 8000, 200mM LiAc, 0.1mg/mL Salmon Sperm DNA
- Preengineered strain of Yeast Containing GFP Plasmid in Agar stab
- Saccharomyces cerevisiae Mead Yeast Strain
- Yeast GFP Expression plasmid 100ng/uL
-
Experiment Supplies
- YPD Agar
- YPD Agar containing G418 Antibiotic
- 0-100uL professional lab grade variable volume adjustable pipette
The Timeline⌗
Here is a general timeline of the steps for this experiment. I will go into more detail about the procedures when I actually do them.
-
Preparation
- Make Agar plates
- Streak yeast onto plates
- Allow yeast to grow overnight
-
Day of experiment
- Mix the transformation mix, plasmid, and yeast sample
- Heat shock sample for 60 mins
- add YPD media to cell solution
- incubate overnight at room temp
- Plate 400uL of the yeast solution and let dry
-
Incubation
- Incubate at room temp for 48+ hours
Conclusion⌗
In my next post, I will look at each part of the plasmid and figure out why it works the way that it does. How can we make smart plasmid design choices?