Adding Google Analytics to your Hugo Site
When I first created this site, I really wasn’t expecting much traffic. But since that time, I have become aware of many backlinks pointing this way, and I wanted to find out some statistics about the visitors to my site.
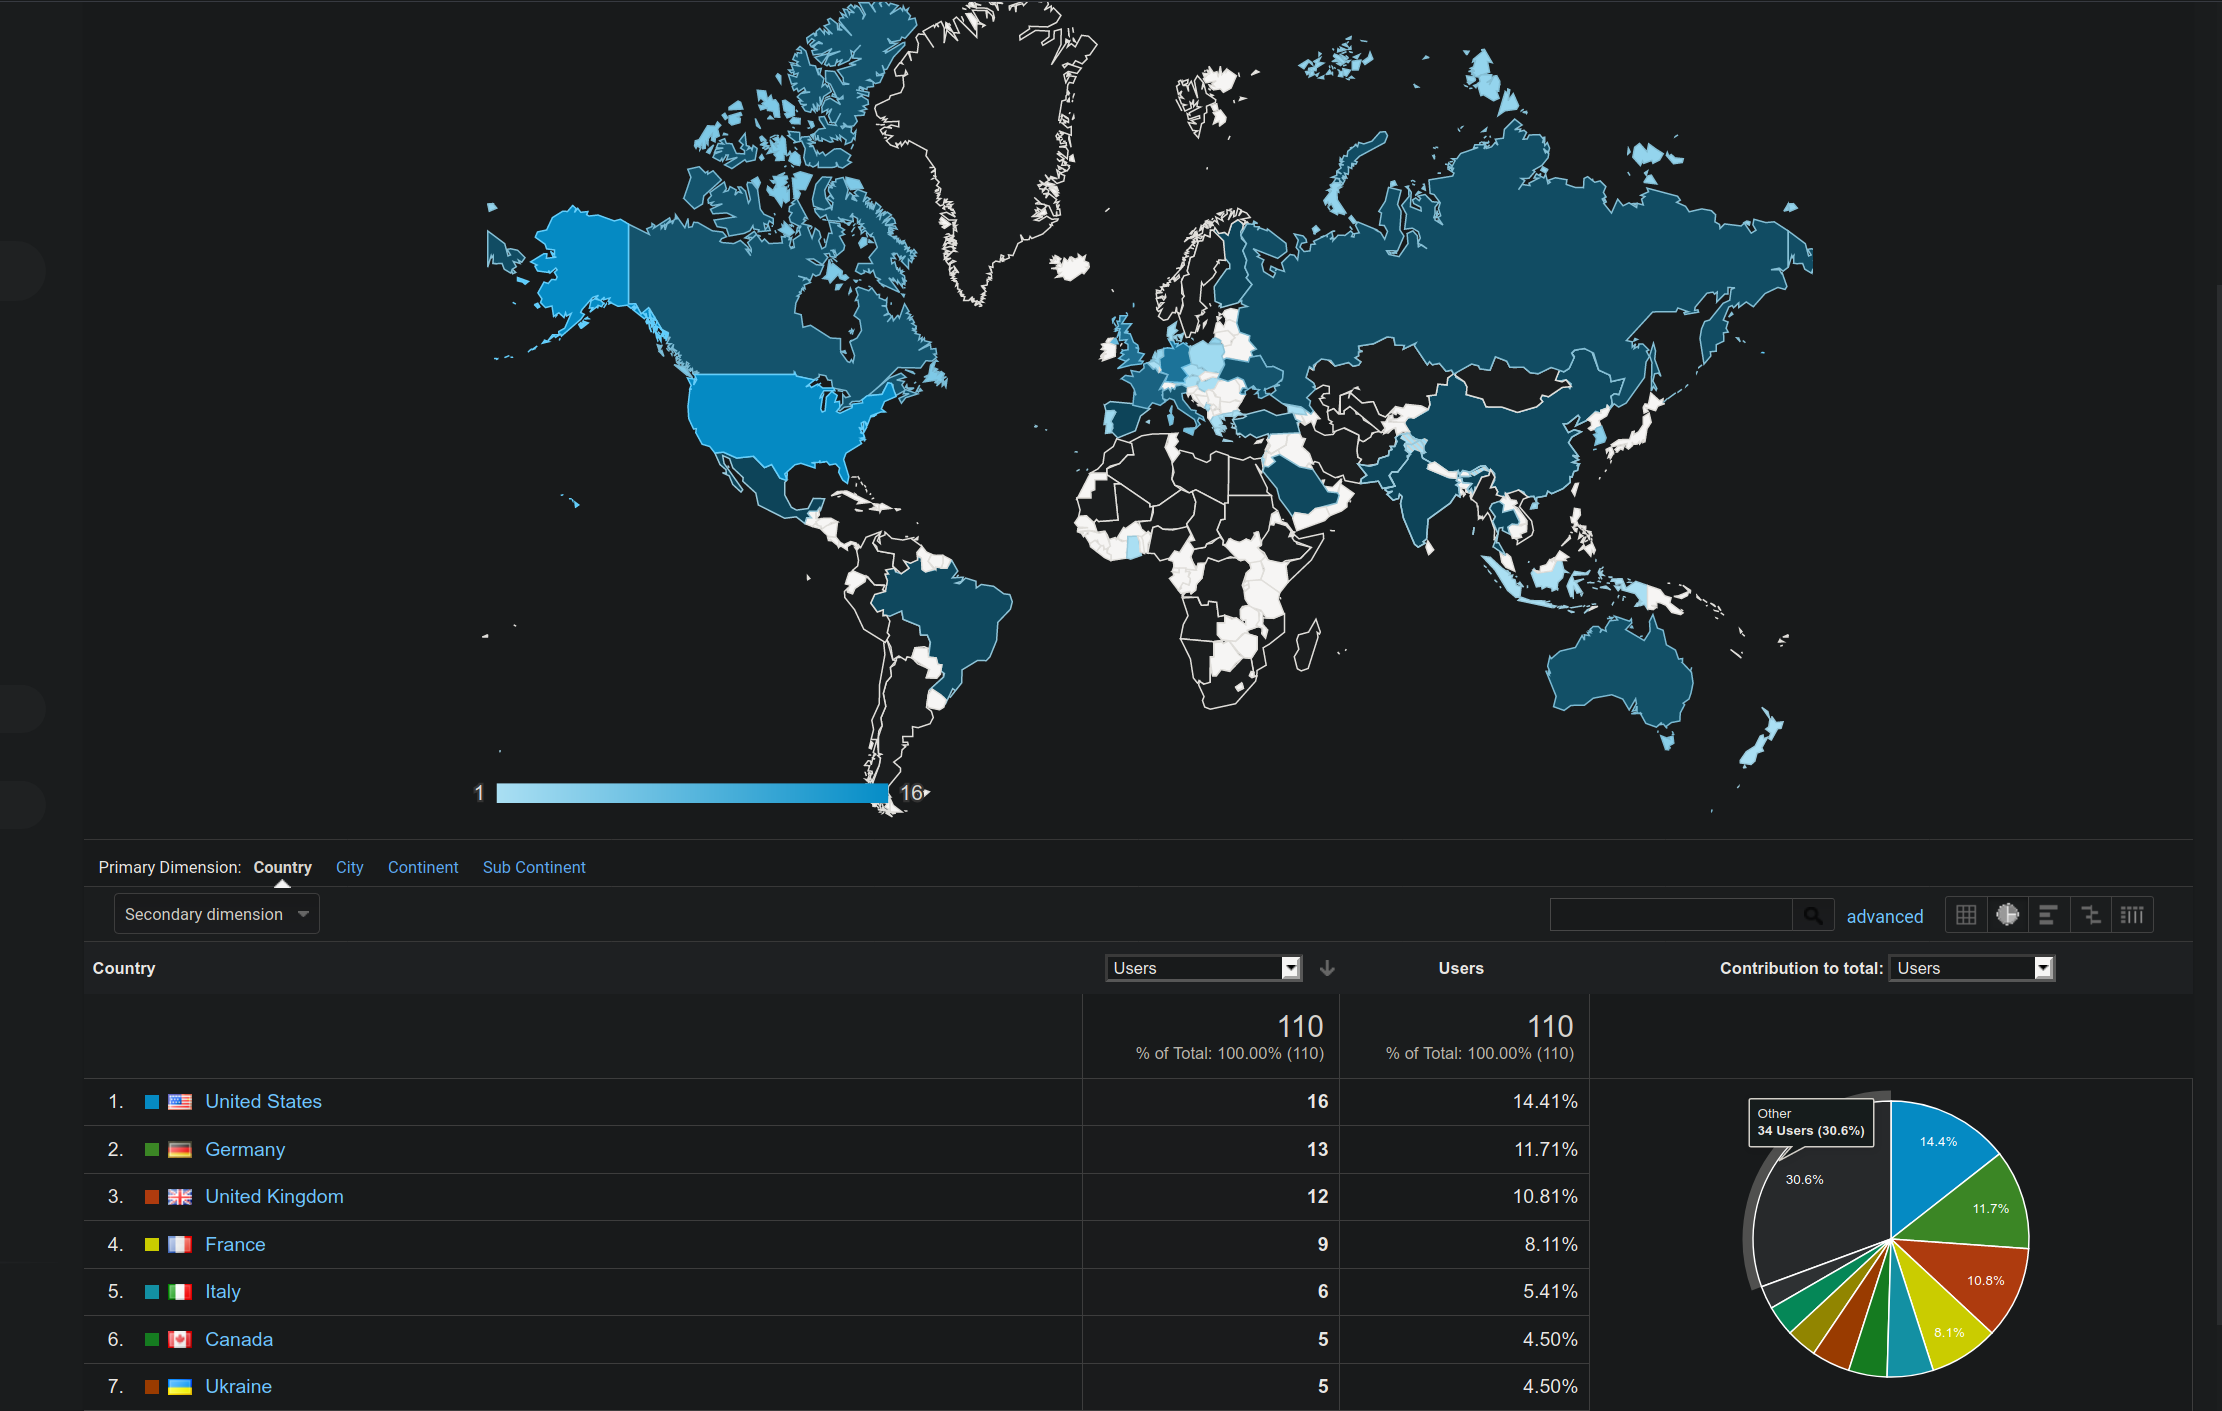
The solution to this came when a friend of mine told me about Google Analytics. Being a Google product, the primary purpose of this tool is to collect metrics on your users so you can more effectively cram ads down their throats.
Since I have no interest in advertising on this site, I will only be making use of the basic analytics features.
Set up your Google Analytics account⌗
This part is pretty straightforward, and took me about 5 minutes to do.
Head over to https://analytics.google.com/ and make an account (or sign in with your Google account).
Set up your “Property”, give it a name, and point it to the URL of the site you plan on tracking.
Click through the basic options until you land on a page with a Tracking Code. This is the value we need to be keeping track of.
If you’re having trouble with this step then I recommend checking out this tutorial, which has very detailed step by step instructions for configuring your GA account.
Configuring Hugo⌗
Thankfully, Hugo has a built in template for Google Analytics. All we need to do is make sure the template gets included in all our pages, so we can have more detailed tracking.
header.html⌗
The easiest way to do this is to insert the template into the header.html file used by your Hugo theme of choice.
Since it is common to use a git submodule as a theme directory, it could be undesirable and messy to write changes directly into the submodule.
The solution to this is to create another directory layouts in the root of your hugo directory. Hugo looks at the contents of this folder and uses it to overwrites the styles
defined by your theme.
For example I use the Terminal theme. The header file is located at <HUGO ROOT>/themes/terminal/layouts/partials/header.html
We can copy this file to our new directory, so it sits at <HUGO ROOT>/layouts/partials/header.html.
Next we can edit our header.html file to include the template for google analytics. Your header.html will look different depending on the theme you’re using, but there
should be a <head> section at the top. If not we can simply create it.
<head>
  {{ template "_internal/google_analytics.html" . }}
  {{ template "_internal/google_analytics_async.html" . }}
</head>
Adding these two lines inside <head> will make the google tracking code embed in the HTML of all of your pages.
config.toml⌗
Finally we need to use that tracking code from earlier. At the top level of your config.toml, add the line
googleAnalytics = "UA-302012394-1"
Replacing the string with your Google Analytics tracking code. After you rebuild the site, everything should work as expected! You should also be able to detect the traffic by running the server locally as well, before you push to production.
Note!⌗
I had quite the time figuring out why I couldn’t see any activity on my site. Being the paranoid privacy nut that I am, I have a multitude of tracker/script blocker plugins on my browsers, to block nefarious ads/scripts.
This also blocks the tracking I do want, wouldn’t you know. I switched over to a private window without plugins and the traffic was instantly visible!
Conclusion⌗
Google Analytics is probably the most painless way to get in depth tracking for your Hugo site. In a future post I want to investigate ways to get all that beautiful data into Grafana, the tool built for scenarios like these.