Workflow Optimization Part 2: The i3 Window Manager
Why use a tiling window manager?⌗
As I touched on in my introductory post, there are many reasons I prefer tiling window managers over traditional desktop environments. Of these reasons, let me highlight three. Efficiency, flexibility, and usability.
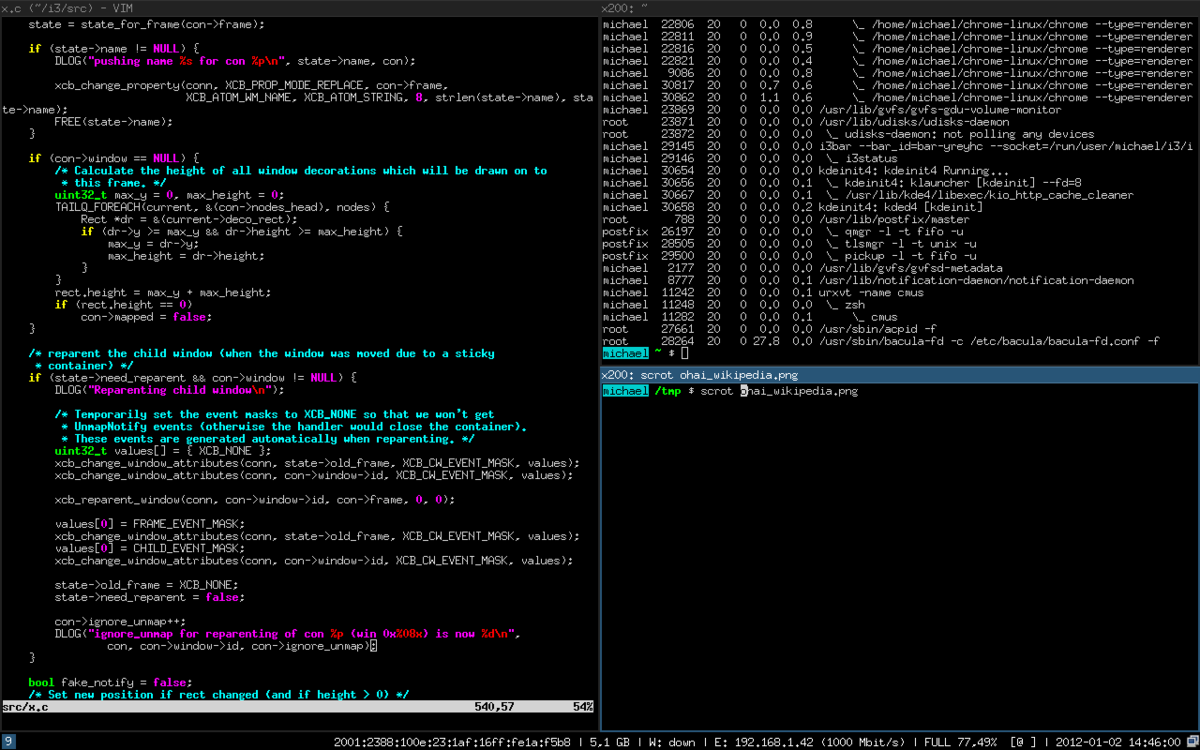
A quick note about i3 and other tiling WMs. While tiling WMs support regular GUI programs, the benefits are most apparent while using the terminal. Most tiling WMs set “open terminal” as the most fundemental keybind. Most traditional desktop environments are configured with GUI settings menus, but i3 has none. i3 settings and the settings of many programs used with i3 are configured with plain text files. I will be talking about i3 in this series, but most of this applies to all tiling window managers. Check out alternatives like xmonad, or dwm.
Efficiency⌗
If tiling window managers excel in one category, it would be efficiency. When we think about how we interact with a traditional desktop environment, we notice that much of our time is spent switching between the mouse and keyboard, or simply rearranging floating windows.
Tiling window managers allow you to do pretty much everything from the keyboard, eliminating the need to constantly be reaching for the mouse. Since all windows are tiled, they can be manipulated with keybinds. In i3, windows can be stacked, tiled, tabbed, and even floated like in a traditional DE.
It may seem ludicrous to spend so much effort on shaving a couple seconds off menial tasks. The reality is when you spend hours a day on the computer doing 1000’s of small tasks, the time saved really starts to add up.
Flexibility⌗
i3 is an extremely flexible window manager. Depending on your installation method, your i3 configuration file is located at either $HOME/.i3/config or $HOME/.config/i3/config. Within the file, you will find various i3 settings as well as comments describing their purpose. These settings allow you to easily understand and configure i3’s core functionality. Applying these changes is as easy as refreshing i3, no recompile required.
Usability⌗
To a new user, i3 may look and feel unusable. Like anything unfamiliar, i3 takes a bit of getting used to. After a couple days of glancing at the i3 reference card, I was pretty much up to my previous work speed. Much like going to a multimonitor setup, once you go to a tiling WM, it is extremely difficult to go back. With every possible action or program just a few keystrokes away, i3 beats digging through endless GUI menus in a traditional DE.
My i3 configuration⌗
My full i3 configuration is available here, but I will highlight a few of the changes I made to make i3 more usable.
Basic keybinds⌗
The first thing I do is change the keybindings for window control to use the Vim keys “hjkl” instead of the i3 default of “jkl;”. This makes sense because many terminal based programs incorporate vim keys, and having a single set of keybinds super convenient!
Gaps⌗
I added the snippet below to my i3 config to define some window gaps. I find having no gaps feels claustraphobic, and you can’t see your wallpaper! You may want to change these values based on your resolution.
for_window [class="^.*"] border pixel 3
new_window pixel 4
gaps inner 17
gaps outer 5
Setting colors from .Xresources⌗
The .Xresources file is a configuration file shared between many applications to define common settings such as colors and fonts. Luckily, i3 gives us an easy way to access these values and use them in our setup.
set_from_resource $bg           i3wm.color3
set_from_resource $bg-alt       i3wm.color0
set_from_resource $fg           i3wm.color15
set_from_resource $fg-alt       i3wm.color2
set_from_resource $hl           i3wm.color4
Now that we have these values defined, let’s apply them to our UI elements.
set_from_resource $bg           i3wm.color3
# class                 border  backgr. text indicator      child_border
client.focused          $fg-alt $bg     $fg  $fg-alt        $hl
client.focused_inactive $bg     $bg-alt $fg  $bg            $bg
client.unfocused        $bg     $bg-alt $fg  $bg            $bg
client.urgent           $bg     $bg-alt $fg  $bg            $bg
client.placeholder      $bg     $bg-alt $fg  $bg            $bg
client.background       $bg
If you look in your .Xresources file (create it if it doesn’t exist), you should see something like this:
*.color0: {color0}
*color0:  {color0}
*.color1: {color1}
*color1:  {color1}
*.color2: {color2}
*color2:  {color2}
*.color3: {color3}
*color3:  {color3}
*.color4: {color4}
*color4:  {color4}
*.color5: {color5}
*color5:  {color5}
*.color6: {color6}
*color6:  {color6}
*.color7: {color7}
*color7:  {color7}
*.color8: {color8}
*color8:  {color8}
*.color9: {color9}
*color9:  {color9}
*.color10: {color10}
*color10:  {color10}
*.color11: {color11}
*color11:  {color11}
*.color12: {color12}
*color12:  {color12}
*.color13: {color13}
*color13:  {color13}
*.color14: {color14}
*color14:  {color14}
*.color15: {color15}
*color15: {color15}

! Black color that will not be affected by bold highlighting.
*.color66: #131811
If not, add it. This defines colors for other programs to use.
Startup Commands⌗
i3 makes it easy to define custom commands that run when i3 restarts (with a logout/login) or refreshes (Mod+Shift+r by default). Here are the important commands I run.
exec-always wal -R tells pywal to reload my last colorscheme every time I refresh i3.
exec xset s off
exec xset -dpms
exec xset s noblank
This setting will disable automatic screen blanking, which I prefer on my machines.
exec_always urxvt -name math -e bash -c 'qalc'
for_window [instance="math"] floating enable;
for_window [instance="math"] move scratchpad; move position center;
bindsym $mod+m [instance="math"] scratchpad show
I added this calculator scratchpad which gives me acces to qalculate, my favorite calculator. Really handy!
Custom Keybinds⌗
Keybinds in i3 are defined as follows: bindsym $mod+f exec urxvt -e ranger would launch ranger, a terminal file manager, in my terminal urxvt.
As long as your program is callable from the terminal, it can be bound to a keybind.
Misc⌗
bindsym XF86AudioRaiseVolume exec pactl set-sink-volume @DEFAULT_SINK@ +2%; exec pactl set-sink-mute @DEFAULT_SINK@ 0
bindsym XF86AudioLowerVolume exec pactl set-sink-volume @DEFAULT_SINK@ -2%; exec pactl set-sink-mute @DEFAULT_SINK@ 0
bindsym XF86AudioMute exec pactl set-sink-mute @DEFAULT_SINK@ toggle
bindsym XF86AudioPlay exec playerctl play-pause
bindsym XF86AudioNext exec playerctl next
bindsym XF86AudioPrev exec playerctl previous
bindsym XF86MonBrightnessUp exec light -A 10 # increase screen brightness
bindsym XF86MonBrightnessDown exec light -S 10 # decrease screen brightness
These are the settings that allow me to use the built in media keys on my macbook.
And that about wraps it up for this post. Next time I’ll discuss some of the programs that are needed to make i3 as usable as a standard DE.